Using a GoPro array for photogrammetry
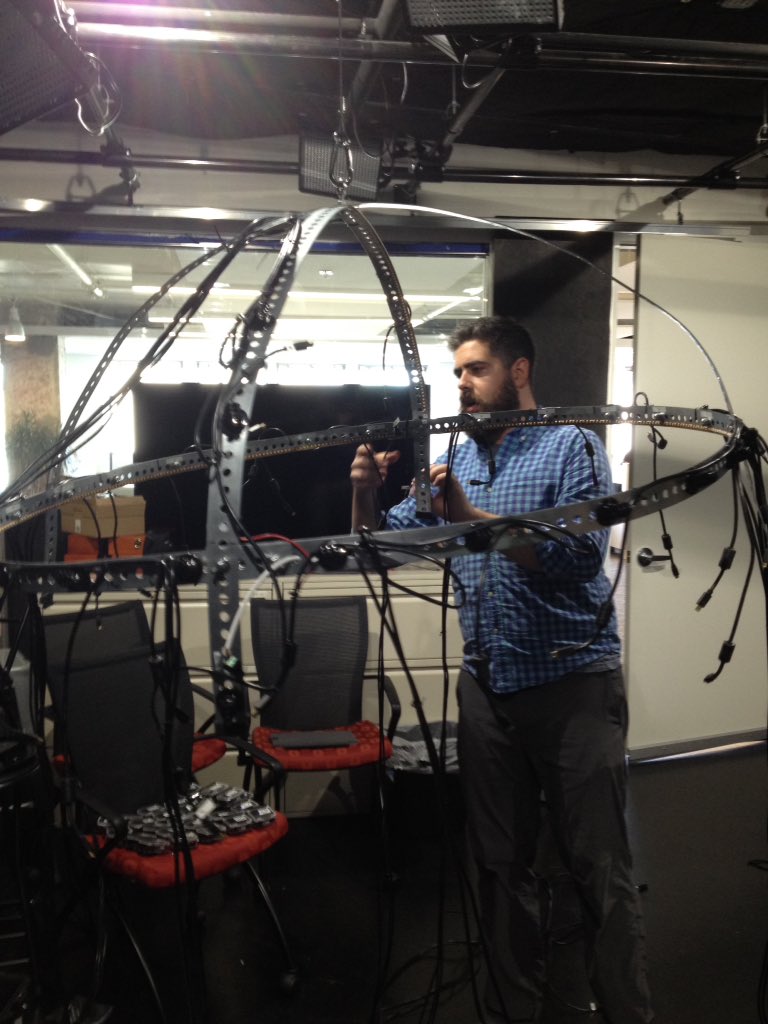
28 GoPro Rig with Hats
Work:
Context: With the number of GoPros on our rig (now a 'dome' instead of a 'ring' thanks to additional hardware), our goal was to capture a variety of upper-body profiles for coverage of Kentucky Derby goers. "Real people, real hats". The challenge was to figure out our rig's strengths and weaknesses in capturing people with hats.
1. Quick Setup Notes
a. Remember never to ship the small wires connecting the LED lights along with the heavy equipment. The connectors are very breakable
b. When unpacking/setting up, wait until AFTER you've hooked the GoPros up to the rig to manage your wires and cords. We had to redo our initial setup because of wires blocking some of the lenses.
c. EXTENSION CORDS. You can never have enough.
2. Quick Notes on Autodesk ReMake
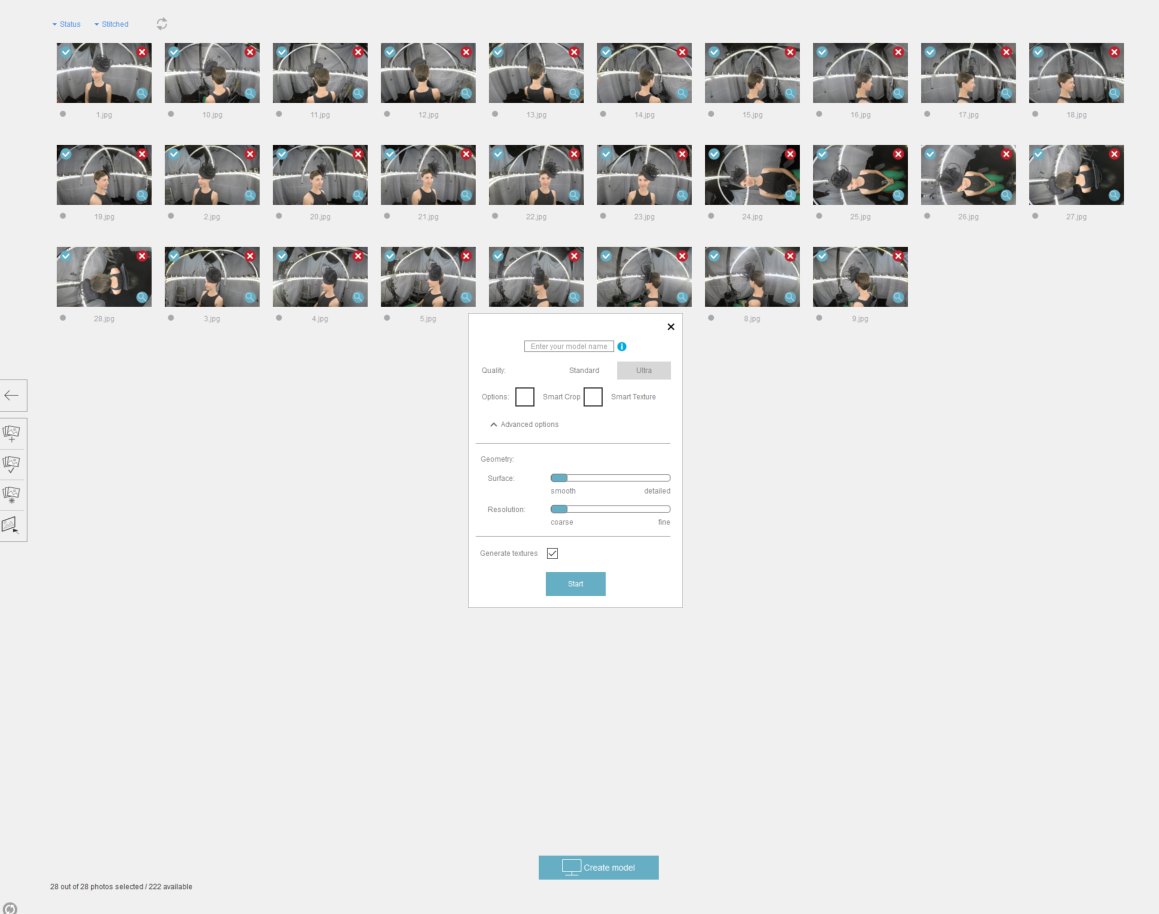
a. We had to render all images in "Standard" quality. We need Cloud Credits to render images online in 'Ultra' quality. Yet to determine how this will impact detail and texture rendering
b. We have to render all models online in the cloud. ReMake offers an option to render offline from your computer, but my laptop does not meet ReMake's system requirements (mostly required system RAM)
3. Notes on Our Hat Models
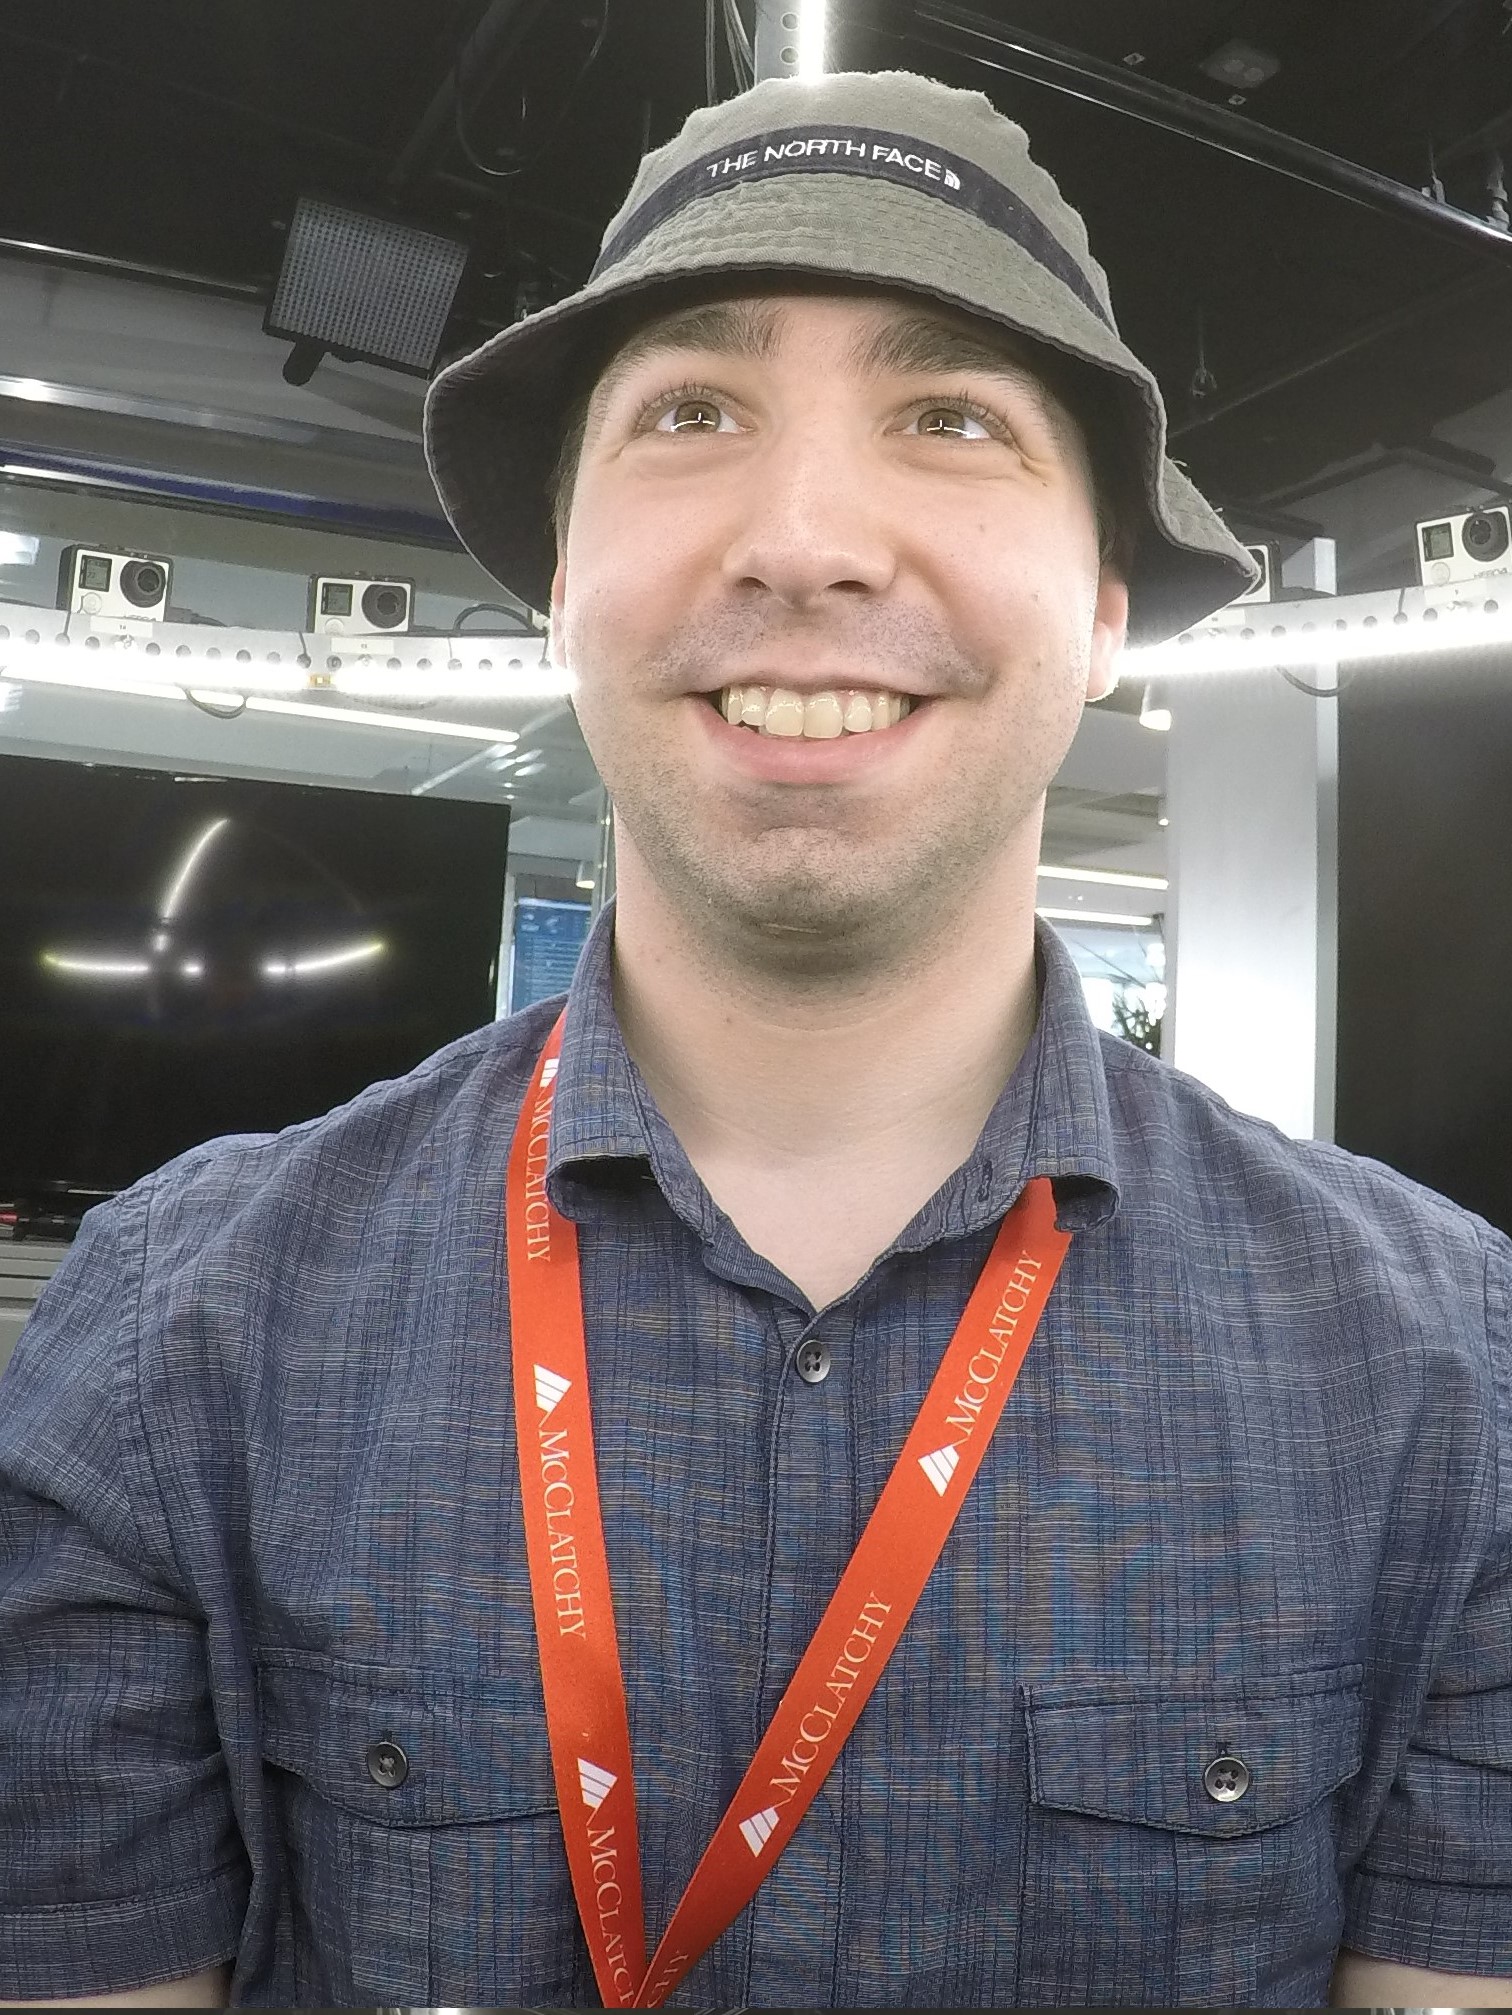
The hardest part about capturing someone with a hat is capturing the brim. Due to the placement of cameras and the contrast of textures and shadows, brims can often cause issues in stitching.
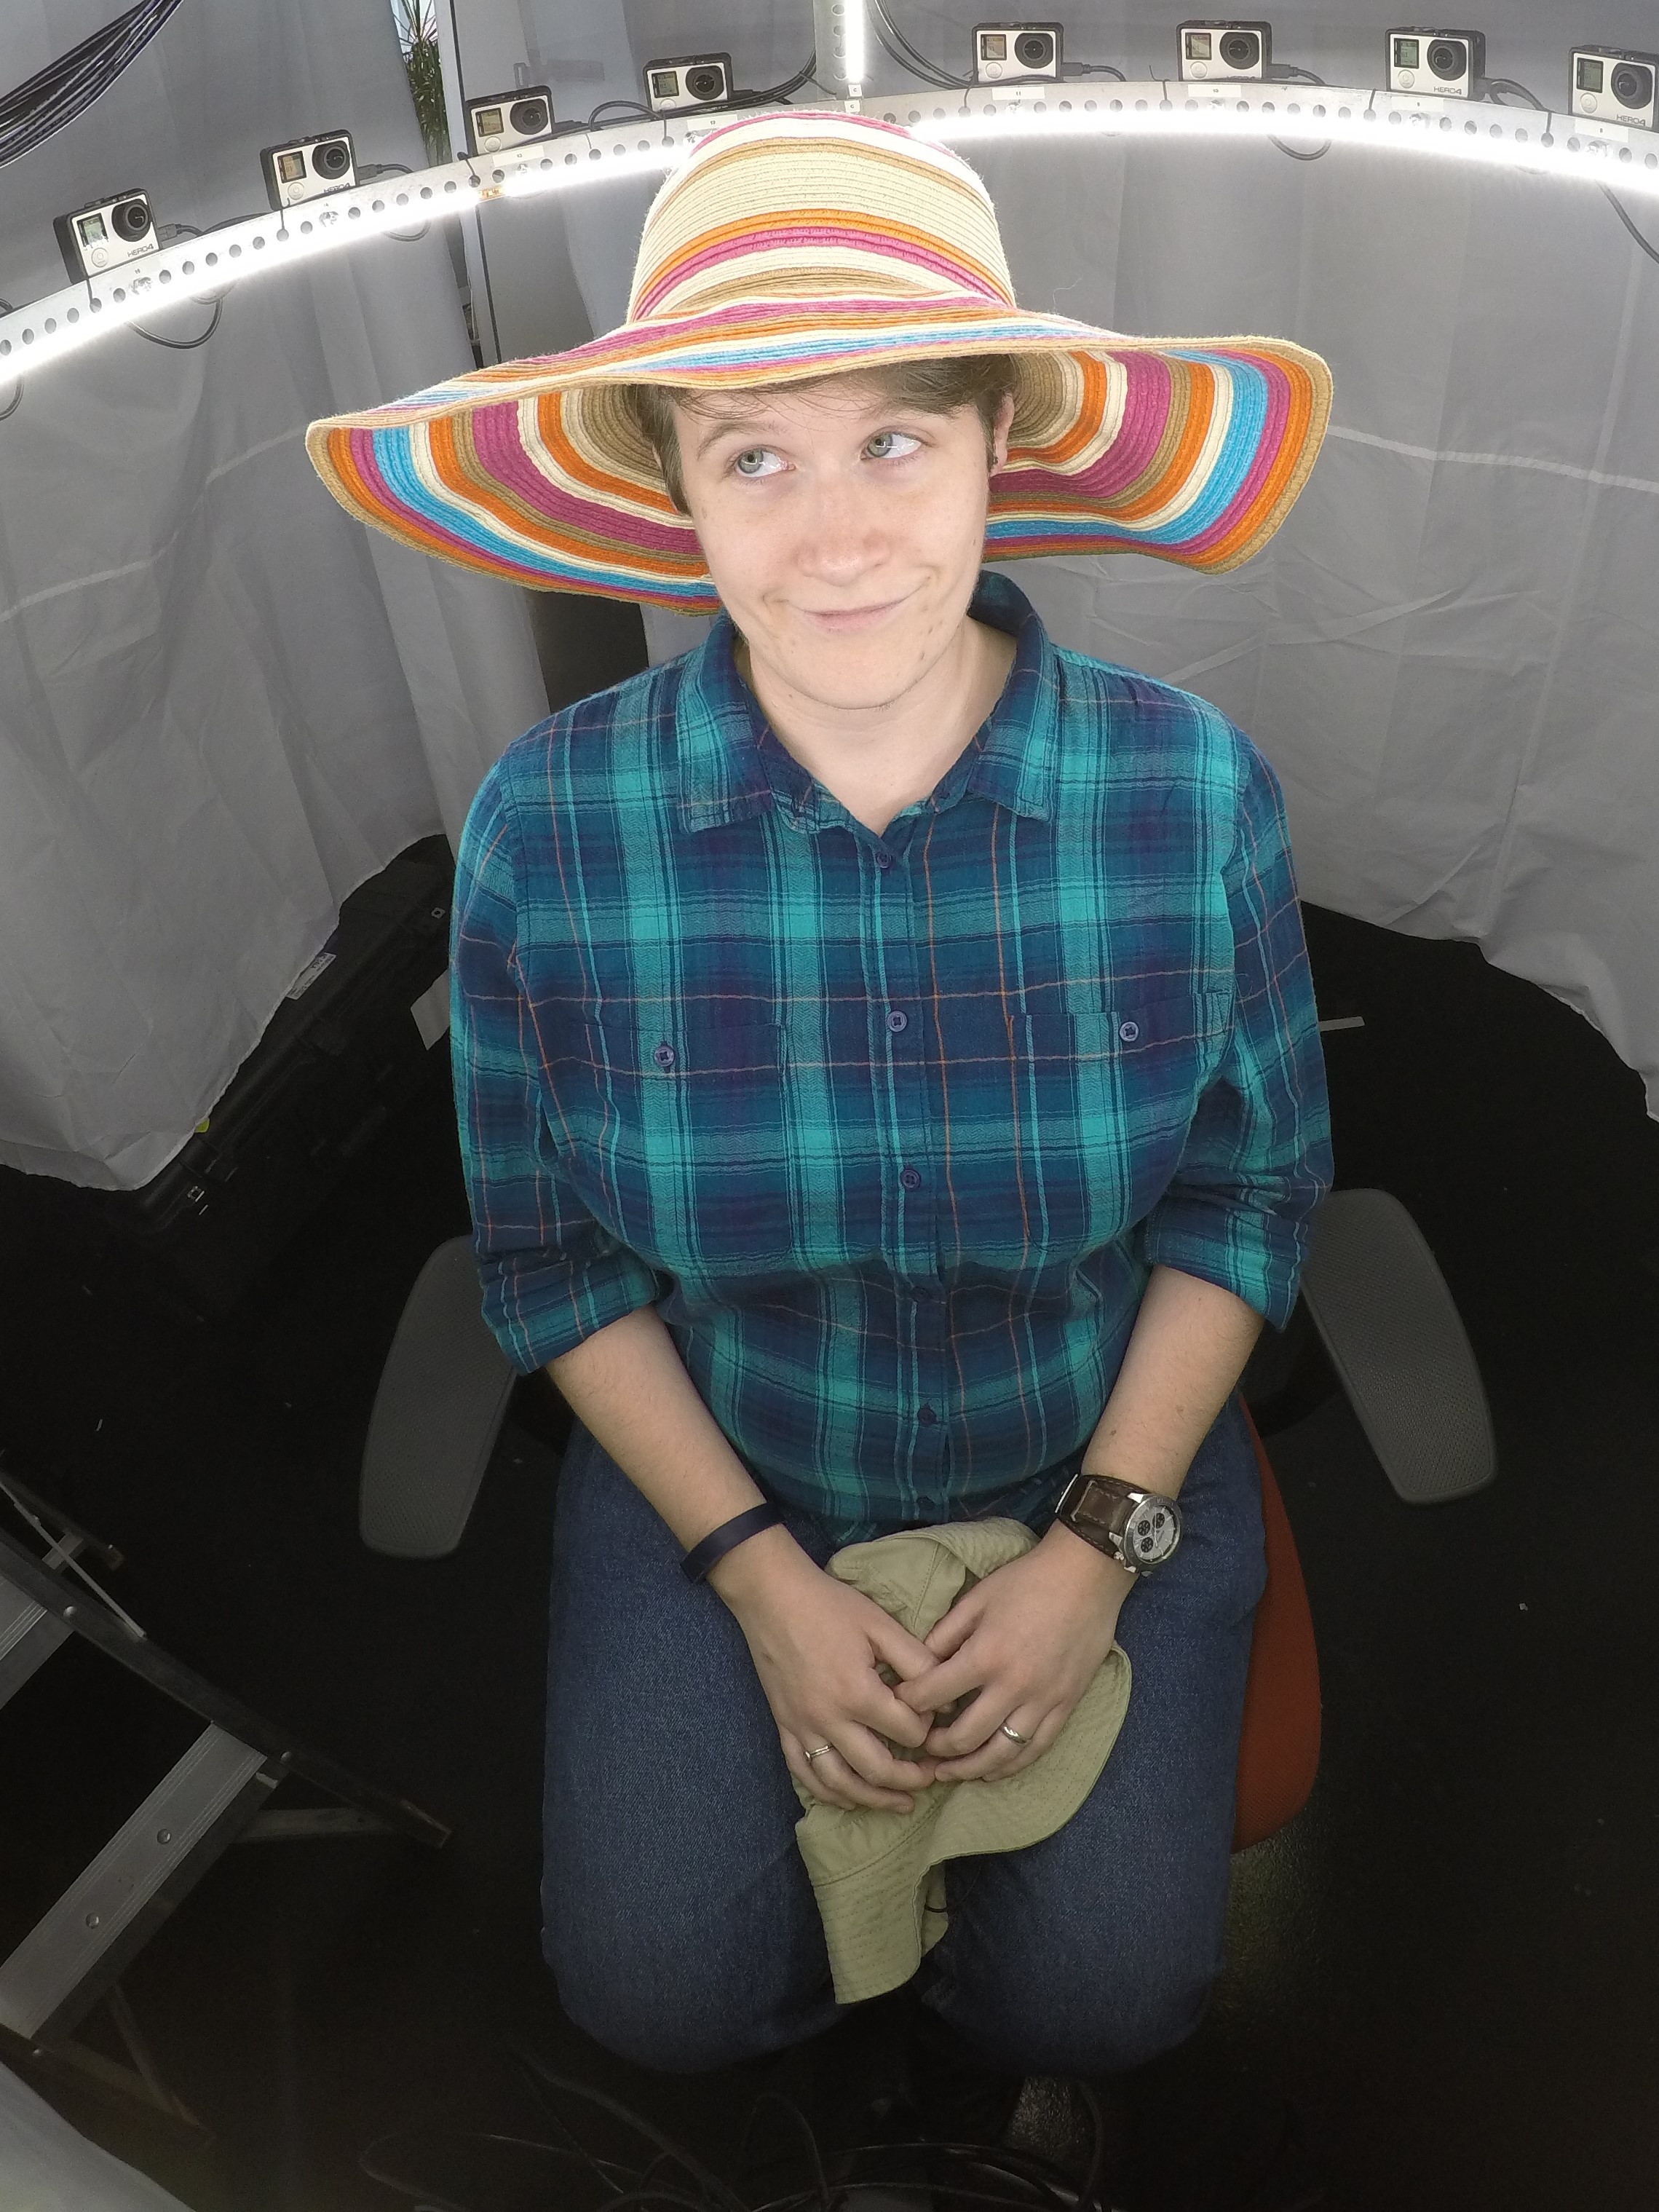
This is especially evident in Connie's scan: The camera placement shows a blind spot (or lack of cameras) in the space above her head. This is where the most flaws (gaps in the mesh, distortion of shape/patterns) occur. The difficult part during these tests was in deciding how high or low the person should be sitting. Too high and we risk cutting off the top of the person's head. Too low, and we silhouette (and crop out) too much of the person's face.
This time around, to get the best control over lighting and background objects, Ben installed white 'curtains' around the chair and rig. This helped to a degree, though it did teach us a grueling lesson:

Don't photograph someone whose outfit is too similar to your background. You need a solid contrast between a person, their clothes, and the background, or the image capture and stitching will be thrown off.
And while the 28-GoPro rig is limited in the elaborate patterns and textures it can capture (especially in low-res renderings done on Autodesk's cloud servers), it still captured Brittany's Derby hat better than expected.

Next Steps
Cover the rig's 'blind spots'
Work out setup issues (camera placement, cord management, etc)
Try 'ultra' high-res scans and see what can be done about textures and details
Diagnose and work out kinks in GoPro sync
*Figure out workflow for fixing holes, distortion, and other mesh issues
Feedback
12 GoPro Rig
Work:
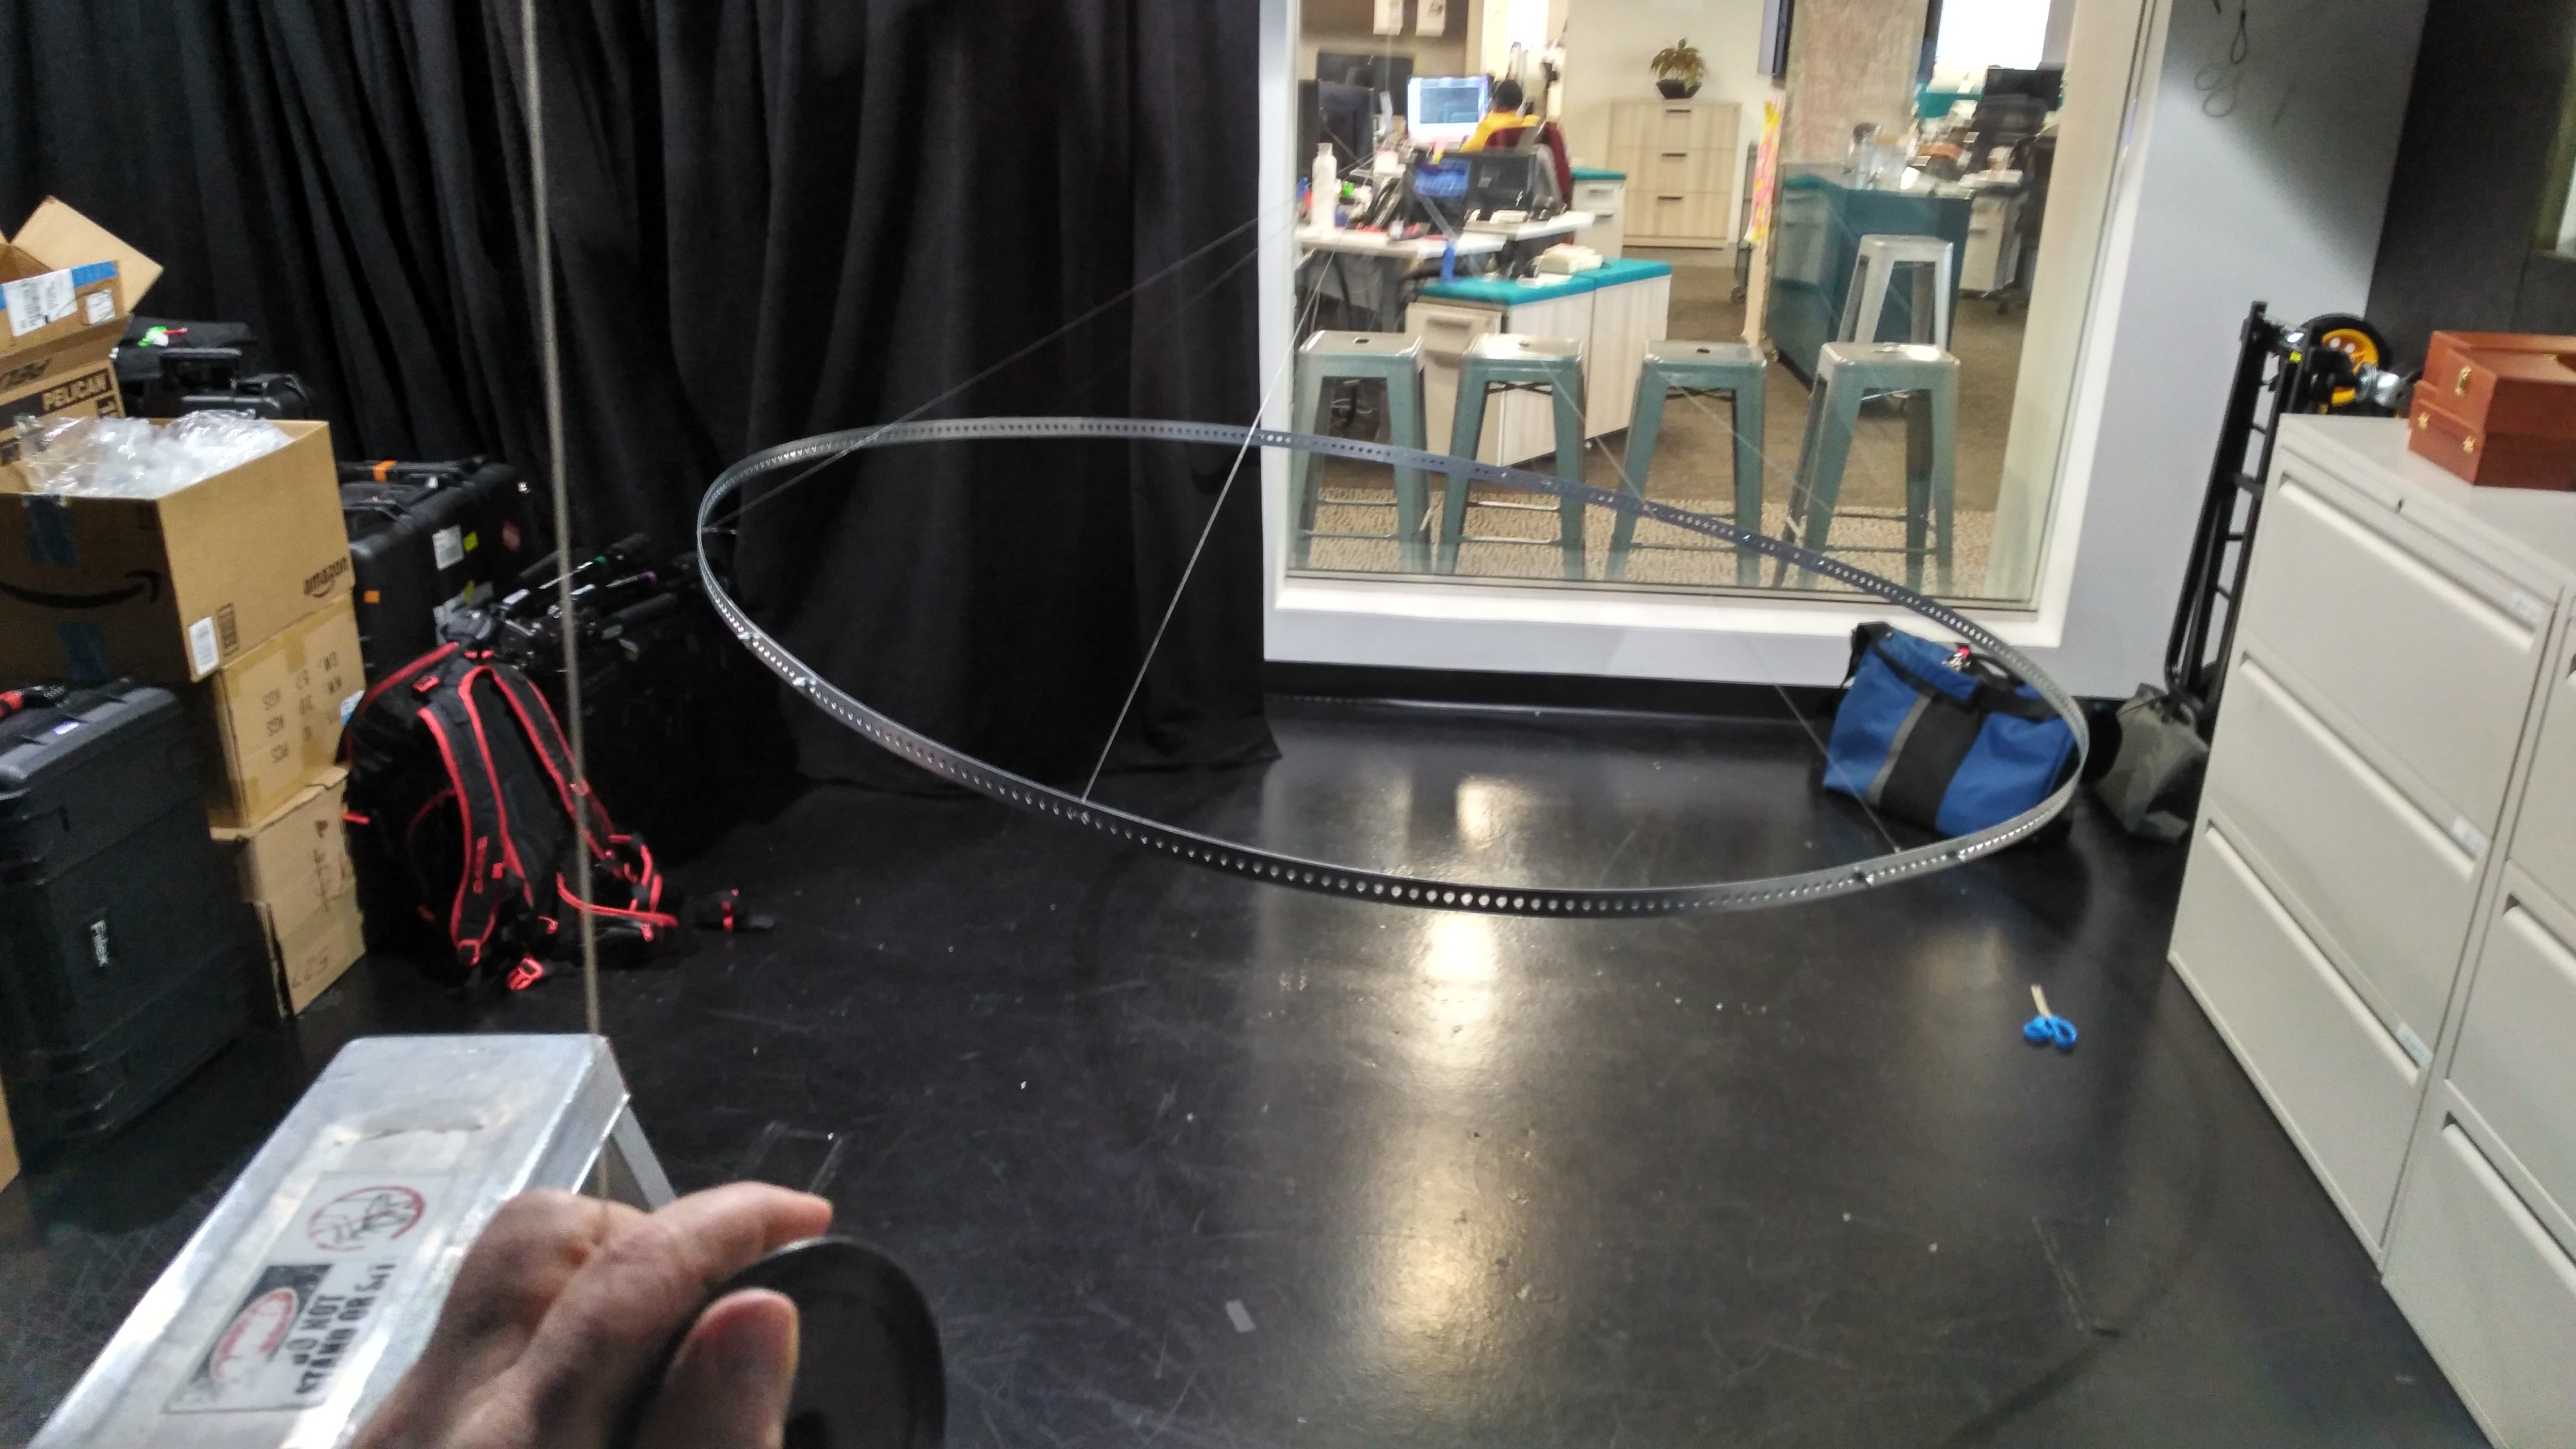
Step one was building and suspending the ring. I bought 4 six foot pieces of punched steel flat bar and using 8 bolts and wing nuts assembled it into a flexible and collapsible hoop. At first, I tried suspending it with just four pieces of 60lb monofilament (AKA fishing line) but it bowed into a sort of rounded square shape, so I spaced out six pieces evenly and suspended it from the studio grid with ten pounds of counter weight so that I could easily raise and lower it.

It still doesn't hang totally evenly, this could probably be remedied with more careful measurement of the six strands of filament that it hangs from. I was also able to overcome this problem however, by simply adding some light weights to the high side of the rig.
Getting 12 GoPro cameras synced to one WiFi remote is possible, even across three different model types (Hero 4, 3+ silver & 3 black) However, two of the 3+ cameras gave me some trouble loosing sync if the cameras were turned off. It worked better than I expected but is not a bullet proof control system.
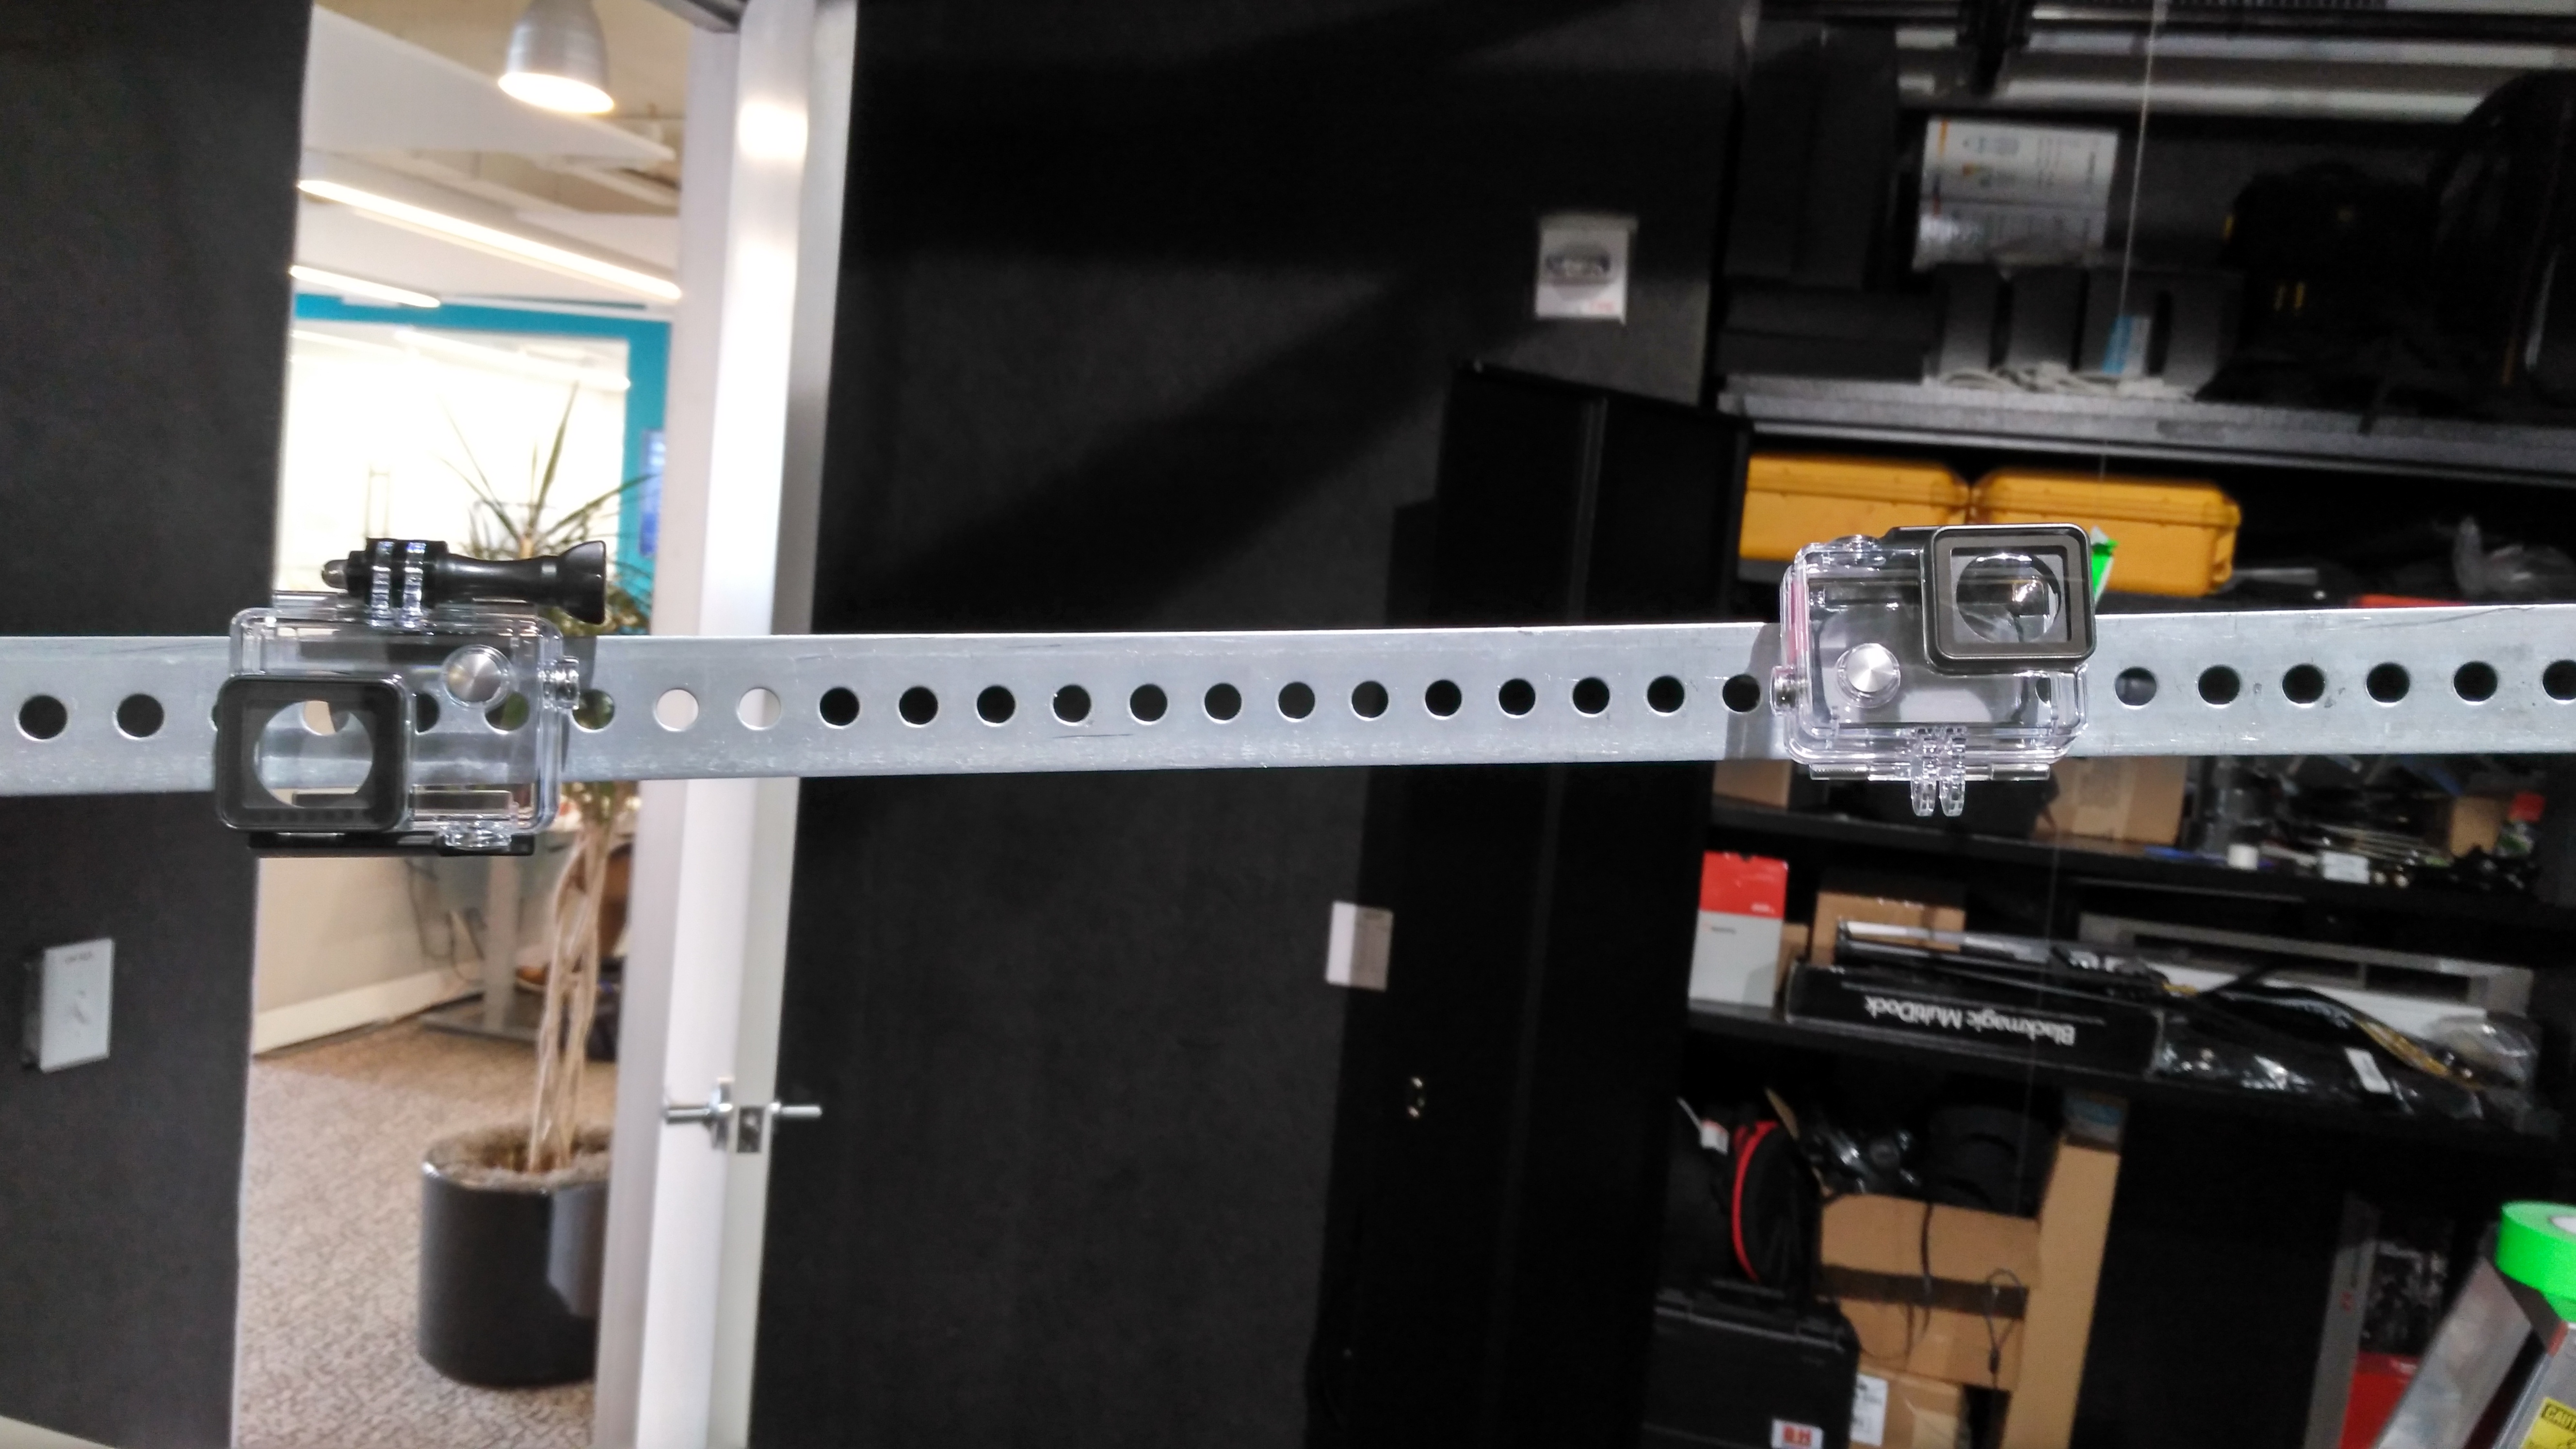
I was looking for a quick non-permanent solution for mounting the cameras and found that I could suspend them by hanging the housing on rig. I had to hang half of them upside down, and they were at slightly different angles, but I think it was sufficient for testing the rig, especially given the very wide fov of the camera.
It's possible to calculate the maximum diameter of the object to be scanned given the FOV of the camera and the circumference or diameter of the rig. I was able to sketch the rig and calculate it that way.
Here's the result of one of the first captures. The subjects appear to be adequately captured, but there are hot spots from the lights, the lighting on the subjects is inconsistent and the background contains lots of superfluous data.
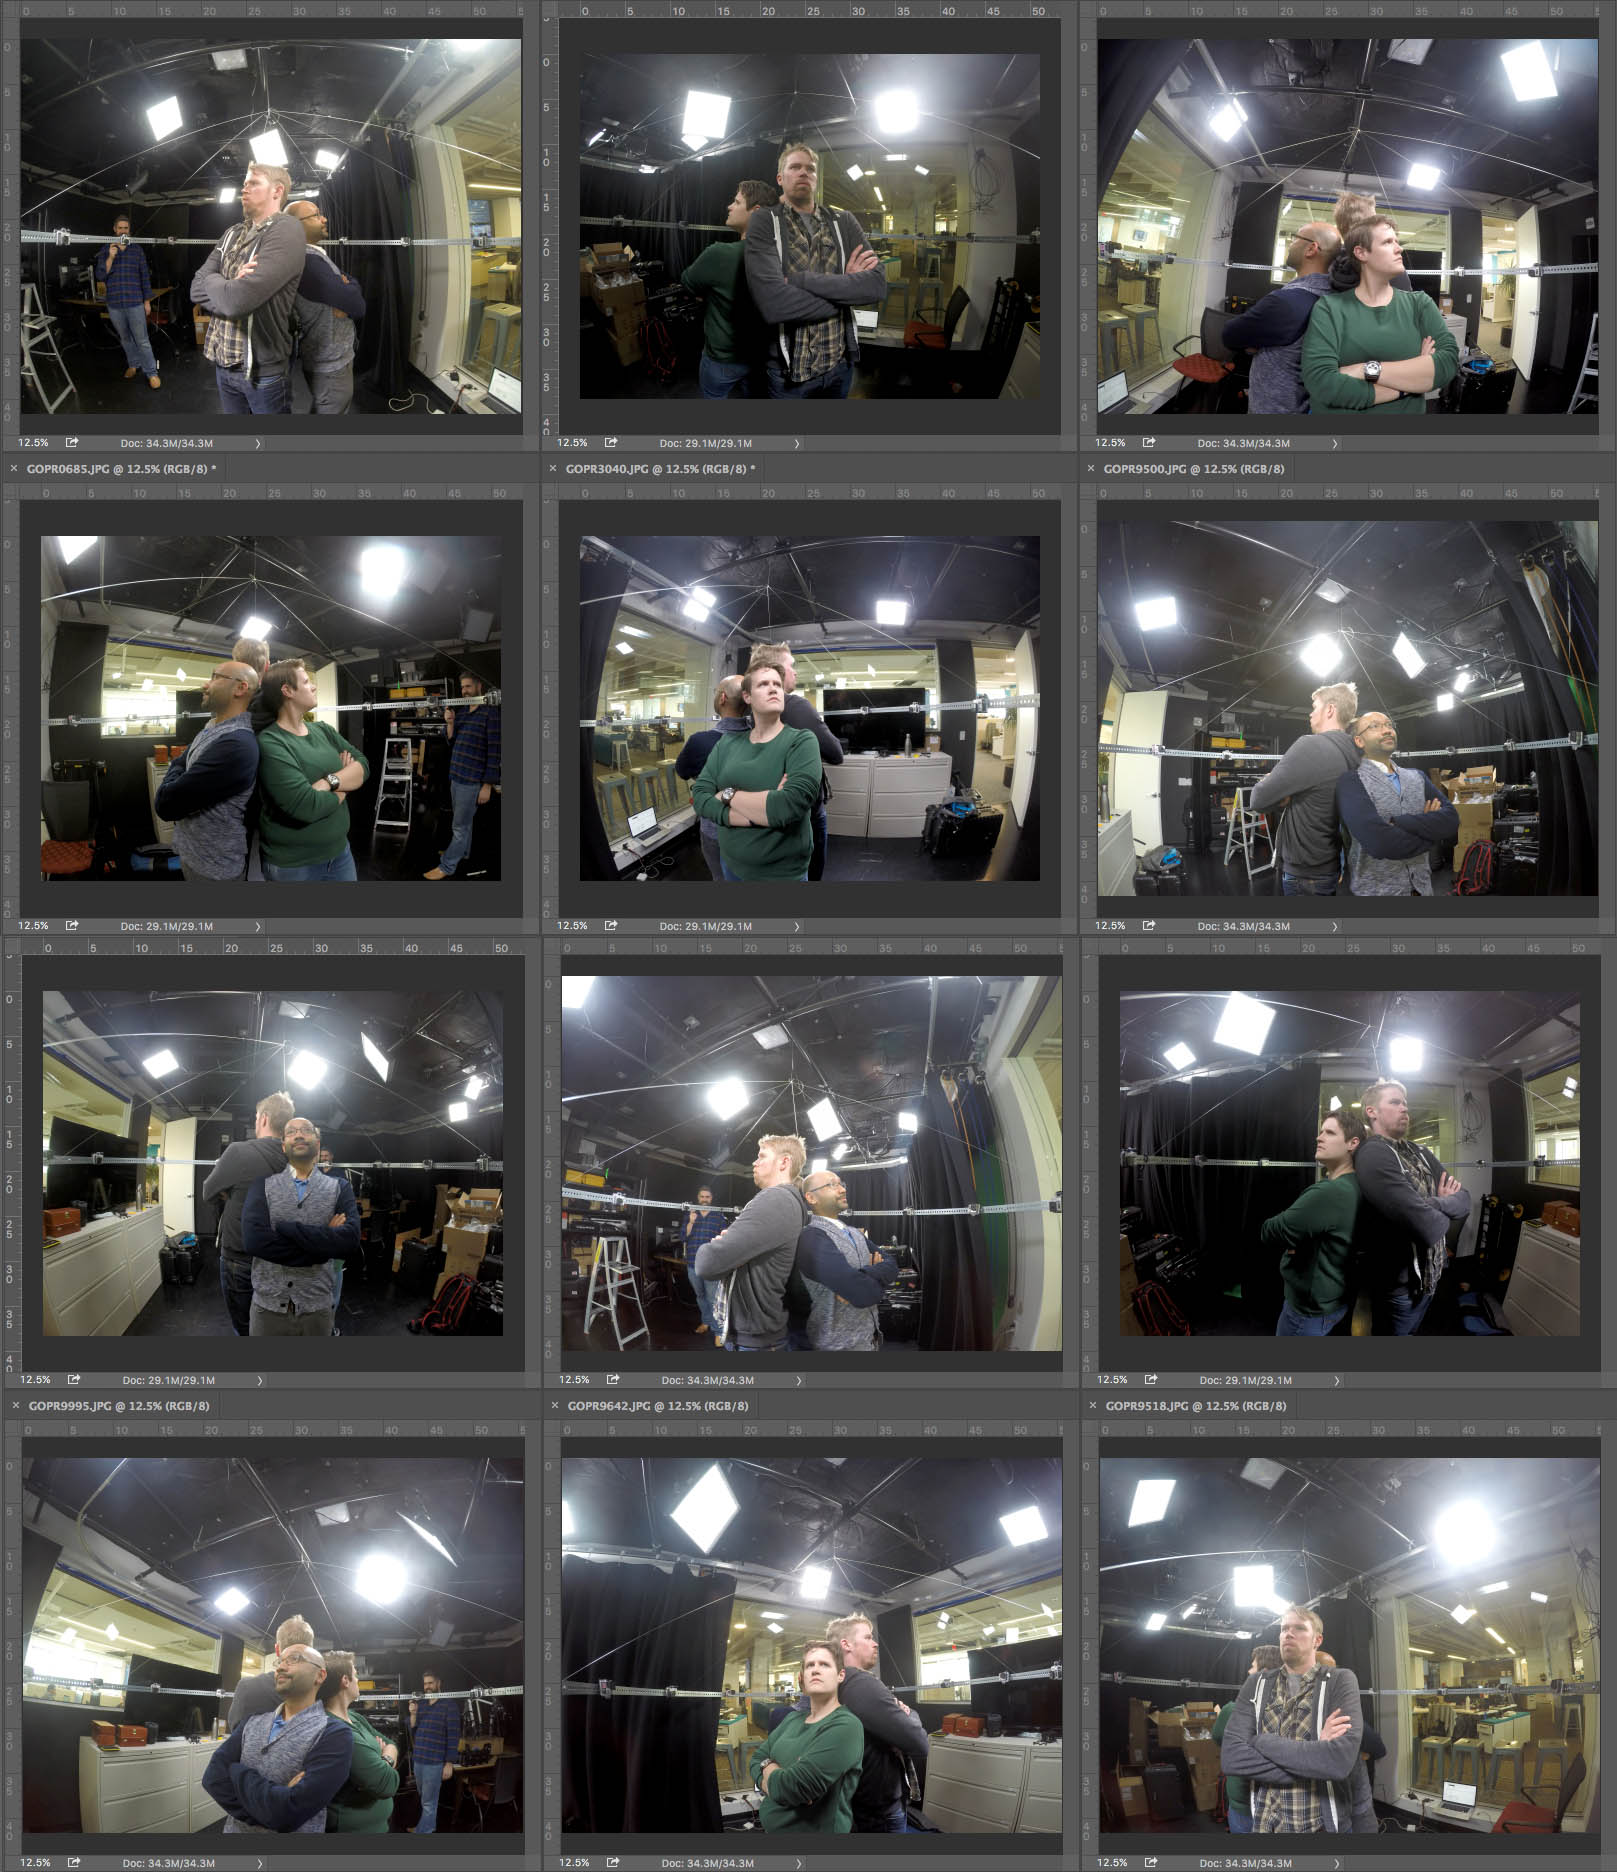
I cropped these images and rotated the correctly, and fed them into AutoCad remake, but unfortunately this is best result I was able to achieve:
Not quite good enough. So I wondered if stepping up to another more manual program might have better results and I test the scans in PhotoScanPro from Agisoft. My results using it were equally unsuccessful.
In the hopes of salvaging something editorially complete from the test I decided to use the frames to create a gif.
Next Steps
Retest rig with Following:
- Standardize GoPro Settings
- Control Background
- Even lighting
- Arrange Cameras in half arc as density test for 24 cameras
Feedback
I think people had fun testing
People seem to like the .gif
Quick 6 Cam Test
Work:
This .obj and texture were created with a hastily assembled 6 camera GoPro Array.
Each camera was set only a few inches from the rest. The resulting images are 12 megapixel high.

I used those six images and AutoDesk's Remake to extrapolate this model.
The model is displayed here using A-Frame.io and an additional Orbit control component.
The cameras were triggered simultaneously using the wireless remote. Most of them fired within one-tenth of a second of each other which is probably fine for still objects but insufficient for objects in motion.
Next Steps
- Try arranging the Go Pros in a circle
- Determine how many are necessary for a fully 3D object
- Do a direct comparison to Structured light scanning
- Prove narrative use
- Work on even lighting
- Build Rig
Feedback
- TBD