How to set up an ARCore scene in Unity
Setting up ARCore!
Work:
ARCore, Google's augmented reality SDK, was officially released to the public last week! The 1.0 update comes with some handy new features, including what Google calls "oriented feature points". A feature point is any fixed plane that the SDK can place a virtual object, and 'oriented' feature points make it so that we can put virtual stuff just about anywhere!

Even more exciting is the fact that these oriented feature points work just like the old kind, so allowing users to anchor virtual objects to their walls is just as easy as allowing them to place stuff on the ground. All we need to do is set up a standard ARCore scene in Unity, and it does the rest.
I followed along with Google's "Unity Quickstart Guide" in order to create this ARCore template project.
Before you can use it to create stuff like this, you need to make sure your computer is set up to build and run Android projects. As the guide says:
Install the Android SDK version 7.0 (API Level 24) or higher.
- To install the Android SDK, install Android Studio.
- To update the Android SDK, use the Android SDK Manager tool in Android Studio.
Install Unity 2017.3.0f2 or higher, with the Android Build Support component. For more info, see Downloading and Installing Unity.
You will need to get the ARCore SDK for Unity. You can either:
Download the SDK for Unity and extract it.
-or-
Clone the repository with the following command:
git clone https://github.com/google-ar/arcore-unity-sdk.gitYou will need a supported Android device.
Once all that's sorted, then, the first thing you need to do is open Unity. Once you do, you should be greeted by the project manager window. Click the "new" tab and then enter your project's name as ARCoreTemplate. You don't need to call it that, I guess - Just name it whatever!
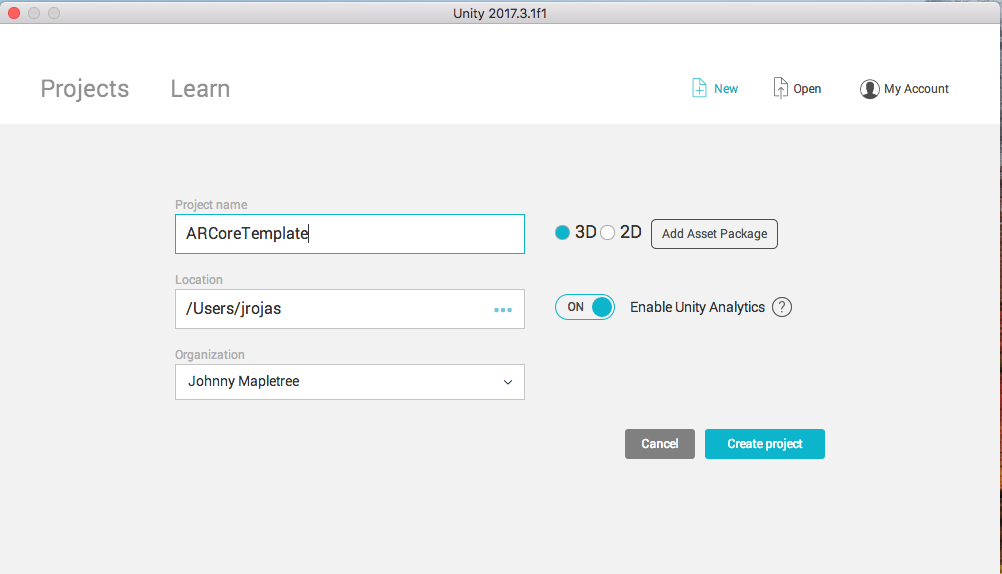
Just click "create project" and then let everything set itself up. Once you're greeted with an empty Unity canvas, we're ready to get started!
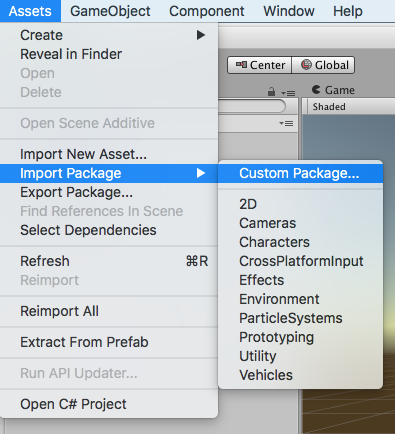
First thing you'll want to do is import this Unity Package!
The way to do that is to click "Assets -> Import Package -> Custom Package..." and then select the file you've downloaded from above!
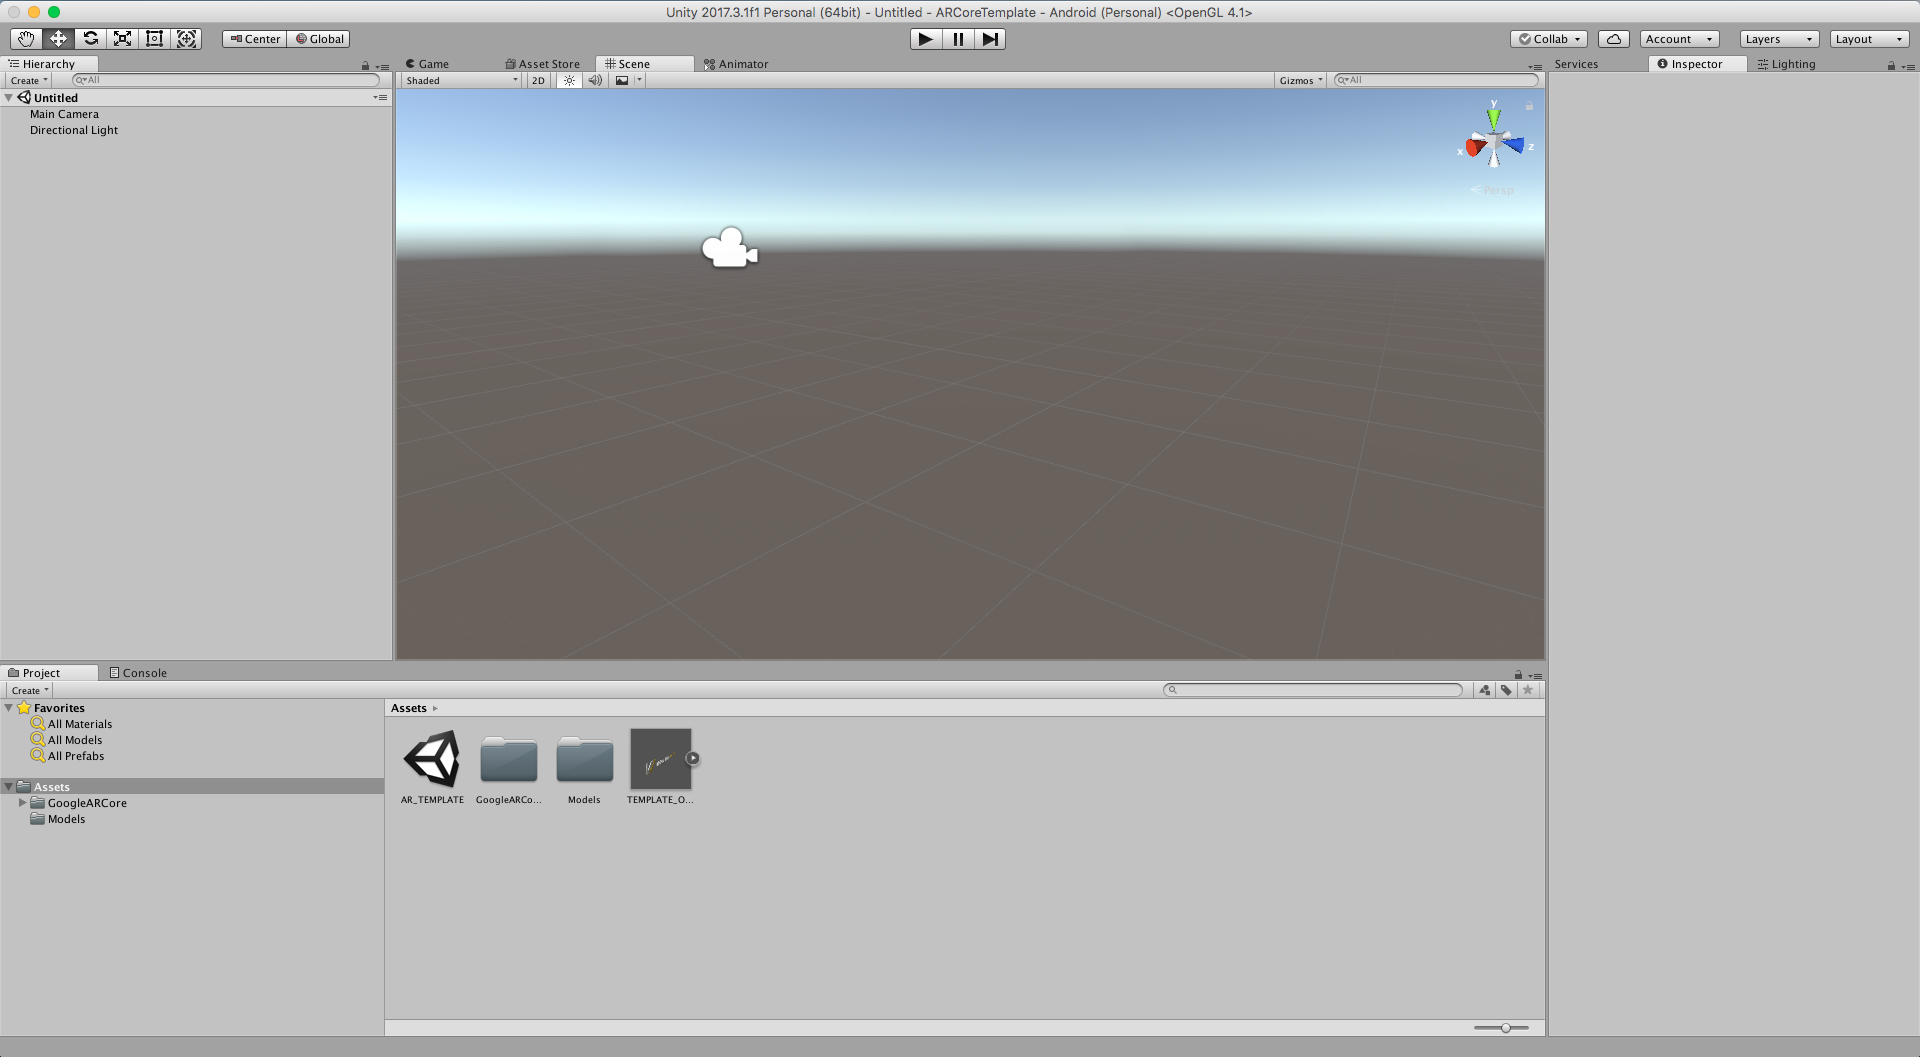
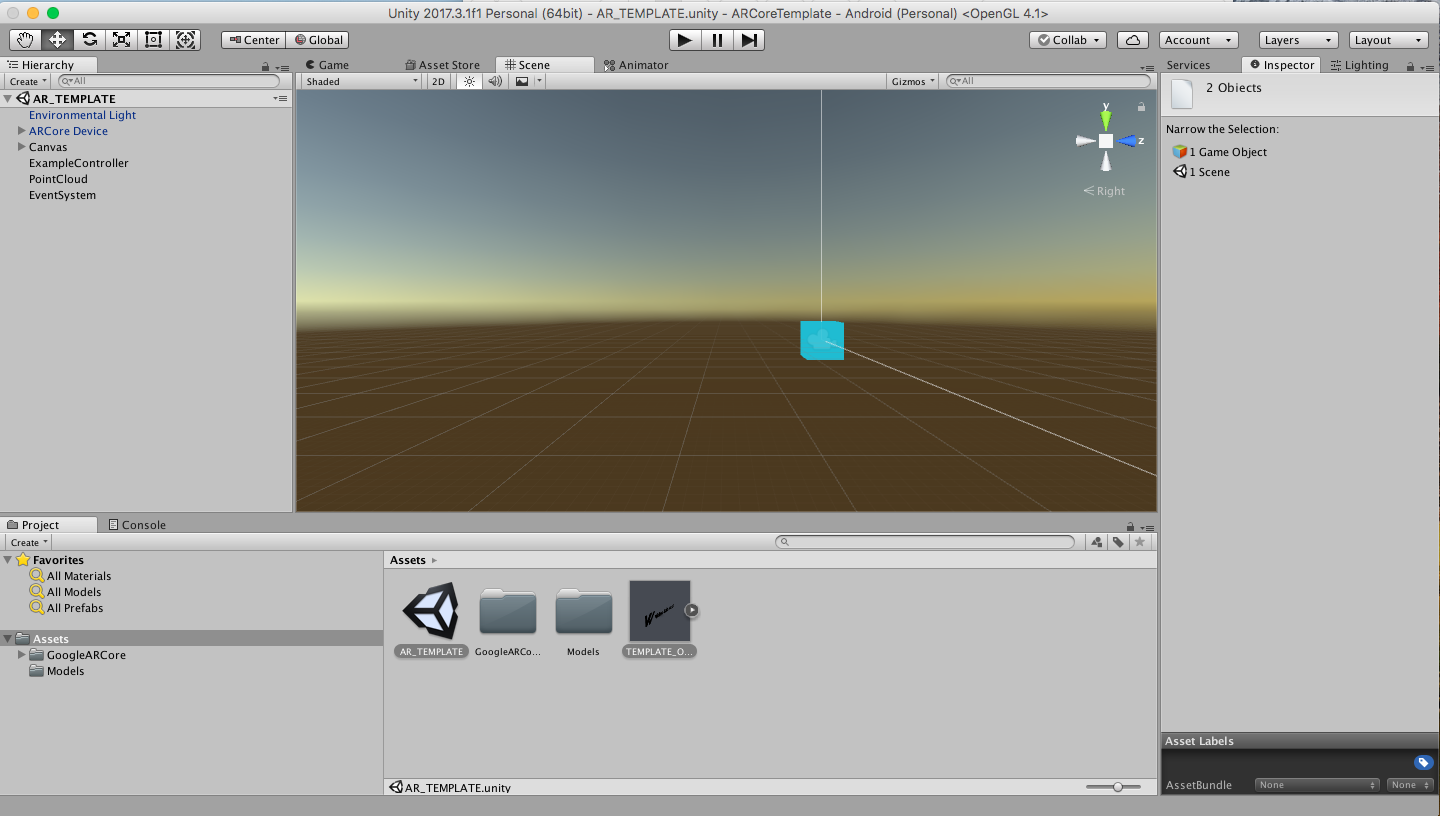
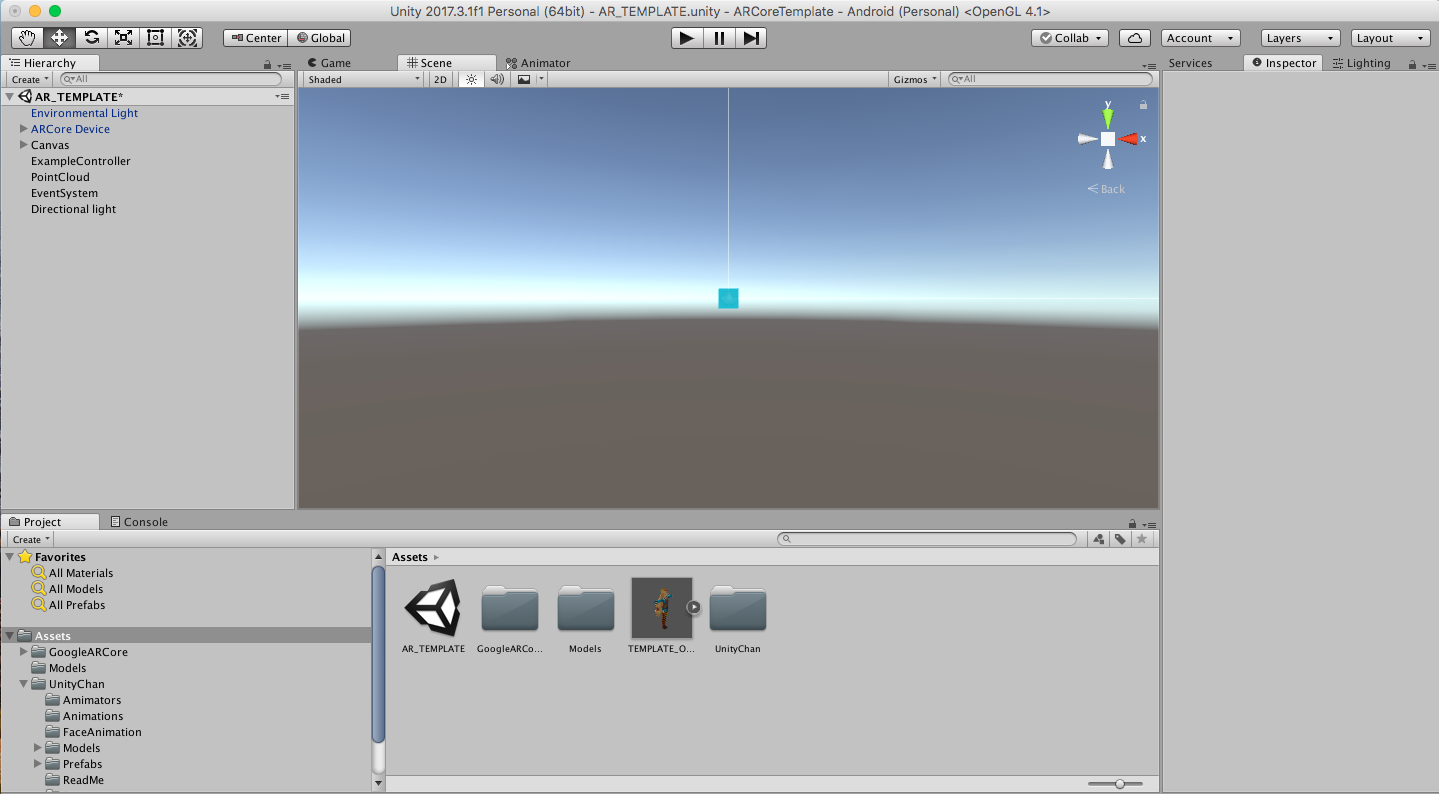
Once you've imported the package, your Unity window should look something like this.
Click the file marked "AR_TEMPLATE" in your "Project" window, at the bottom of the screen. Opening it will take you into our AR template scene!
This scene has everything you need already set-up to build out an AR-Core compatible Android application. To modify it for your own purposes, all you'll need to do is replace the "TEMPLATE_OBJECT" prefab's content with something more to your liking! I'll explain how.
- First, drag "TEMPLATE_OBJECT" into the current scene - Click on TEMPLATE OBJECT then hold, and drag that object into the window above, which is called the "Scene View".
- At the top of the scene view you should now see "TEMPLATE OBJECT" with a little arrow next to it. Click on that arrow to open the prefab asset!
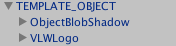
- In order to make the scene work with anything we like, all we need to do is replace "VLWLogo" in this object's heirarchy with any other 3D model. Let's grab one from the asset store as an example! You can disregard the next few steps if you've already got one in mind.
- Click Window -> Asset Store to open the asset store. Once you're there, click into the search bar at the top and type "UNITY-CHAN". Unity chan is a free 3D character you can use in any of your Unity projects! Neat. Click the first result and then, click "download" on the page that appears. Then, once the progress bar fills - click "Import"

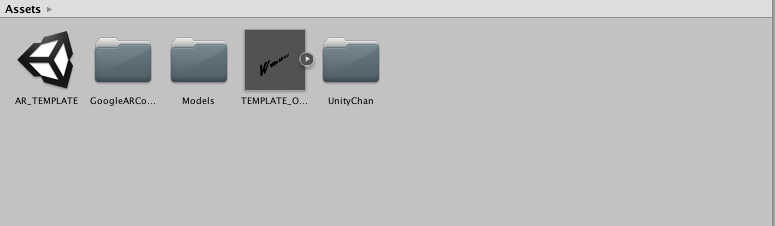
- on the prompt that appears, click "All" then "Import". Depending on your Unity version, you may be prompted for an API update. Click yes, and let it run it's course. Once that's done, you should see a new folder in your project window!
-
Open the UnityChan folder, then "Prefabs", then grab "unitychan" and drag her into the scene heirarchy, and place her in the heirarchy next to VLWLogo, so that she is a child of "TEMPLATE OBJECT". then, go ahead and delete "VLWLOGO".
 Finally, click on "TEMPLATE_OBJECT" and then look at it in the "inspector" window. To view the inspector window, go to Window -> Inspector or, just look to your right! The inspector window should be one of the tabs on the right hand pane of your unity window.
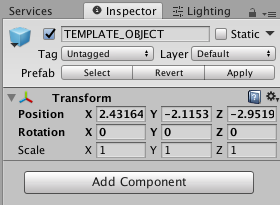
Click on the button marked "APPLY" in the top-right hand corner of the inspector window. This will apply the changes we've made to the TEMPLATE_OBJECT prefab, so that, once we load up our new AR project, instead of projecting little alien dudes or VLW logos, you'll be placing unity chan in your environment!
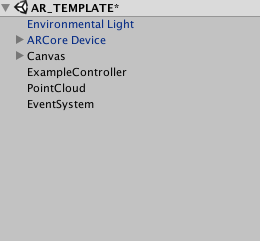
now, simply DELETE the TEMPLATE_OBJECT prefab from your scene entirely. Don't delete it out of your assets folder at the bottom of the screen, just delete it from the scene heirarchy, so that it looks like this.
And we're DONE! All that's left to do is to build the project out to your ARCore compatible android device, and you should be off to the races! I'll give you some tips about how best to do that, but first, we need to put some lights in our scene!
-
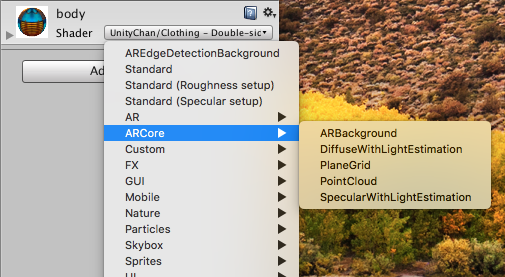
For certain AR applications, we'll want to make use of ARCore's ability to match the lighting of a virtual object to the lighting of the environment you're in, thanks to a couple of shaders called "ARCore - DiffuseWithLightEstimation" and "ARCore - SpecularWithLightEstimation". You can find these on any object by clicking on them in the heirarchy to highlight them in the inspector, then checking out their "Material" slot, if applicable - then clicking on the "Shader" drop down menu. Then go ARCore -> DiffusewithLightEstimation OR ARCore-> SpecularWithLightEstimation.
 These two shaders are far less complex than Unity's Standard Shader, but they have the added benefit of allowing your virtual lighting to match up with your real life lighting environment. our VLW_Logo object had the ARCore - diffuse with light estimation setting attached, so we didn't need any lights in our virtual scene. But since UnityChan's model won't support these ARCore specific shaders, we're going to need to add a light to our scene, so that when we build out to mobile, you'll be able to see her! This will be true of MOST objects you import into the AR_template, so before you start creating, you might want to add a light to your scene!
To add a light to your scene, simply click "GameObject -> Light -> Directional Light"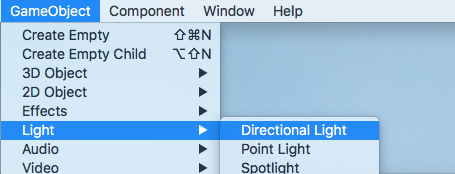 You'll notice that your scene has become a fair bit brighter! This is because a Directional Light simulates a light source like the Sun, with it's default coordinates mimicking mid-day. This should be more than enough light for any model that doesn't support ARCore's shader package.
 Now that we can see, hit CTRL+S or CMD+S on Mac to save your scene, then click "File - > Build Settings" to continue!
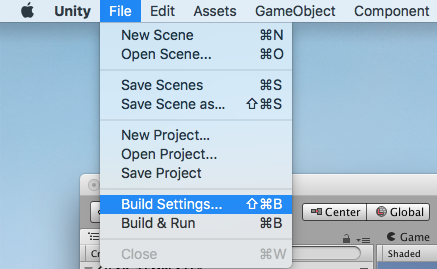
You should then be greeted with the Build Settings menu. Then, change the following settings:
-
- Change the target platform to Android and click Switch Platform.
- Click Player Settings to open the Android Player Settings. Then change the following settings:
- Other Settings > Multithreaded Rendering: Off
- Other Settings > Package Name: a unique app ID that looks like a Java package name, such as
com.example.helloAR - Other Settings > Minimum API Level: Android 7.0 or higher
- Other Settings > Target API Level: Android 7.0 or 7.1
- XR Settings > ARCore Supported: On
- The Scenes in Build lists the scenes from your project that will be included in your build. Add the scene from the AR_Template sample app to the build as follows:
- Locate the scene in the Project window under AR_TEMPLATE.
- Click the scene and drop it on Scenes in Build.
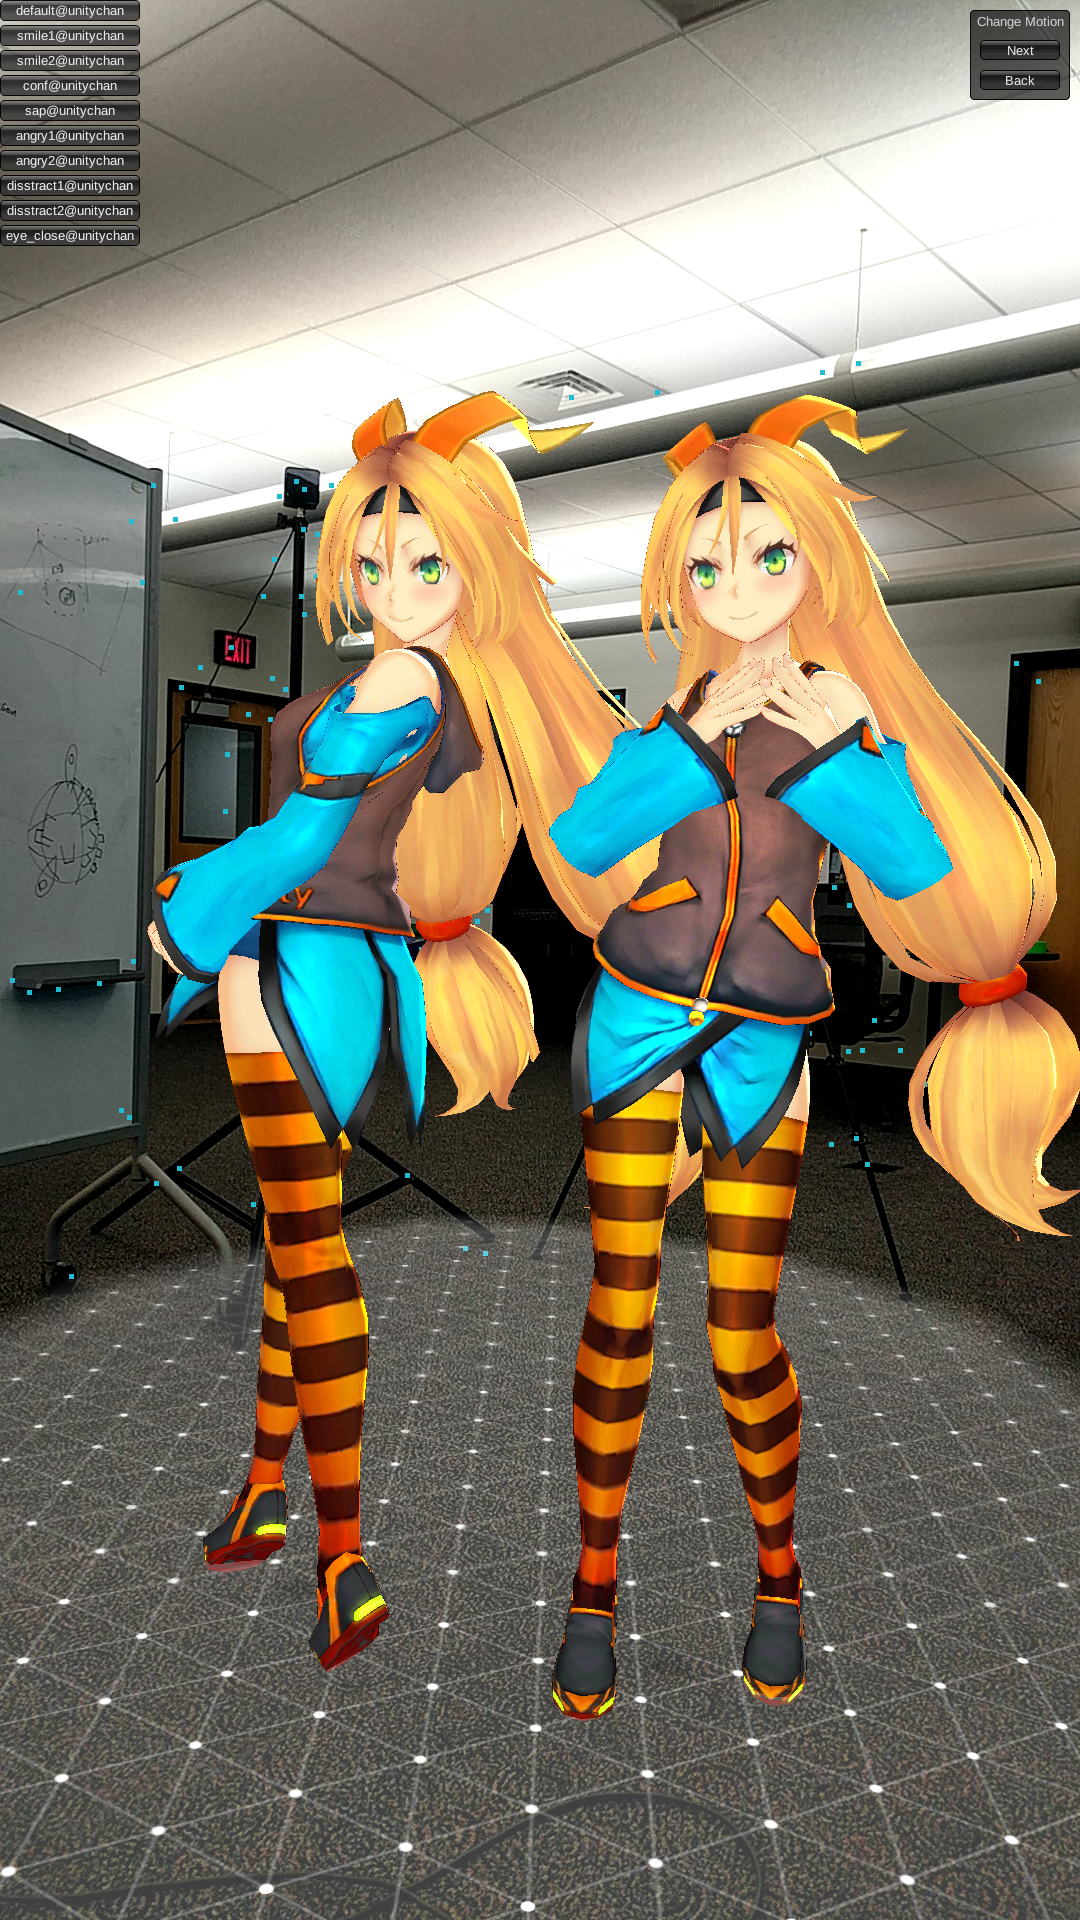
Once all that's done, just click "Build and Run" in the build menu, and, if you've got a compatible android device connected, you should be off to the races!
Enjoy your new AR application!
Next Steps
In our next lesson I'll provide you with a quick and easy ARKit template for iOS devices! Then - ANIMATION!